> For the complete documentation index, see [llms.txt](https://docs.infraon.io/product-help/llms.txt). Markdown versions of documentation pages are available by appending `.md` to page URLs; this page is available as [Markdown](https://docs.infraon.io/product-help/explore-more/use-cases/asset/it-and-fixed-asset/add-asset/adding-an-asset-using-csv.md).
# Adding an asset using CSV
This tutorial outlines the steps to add multiple assets using the CSV file method.
**Step 1:** Click on **Add Item at the top right corner of the page** and choose the ‘**Import from CSV’** option.

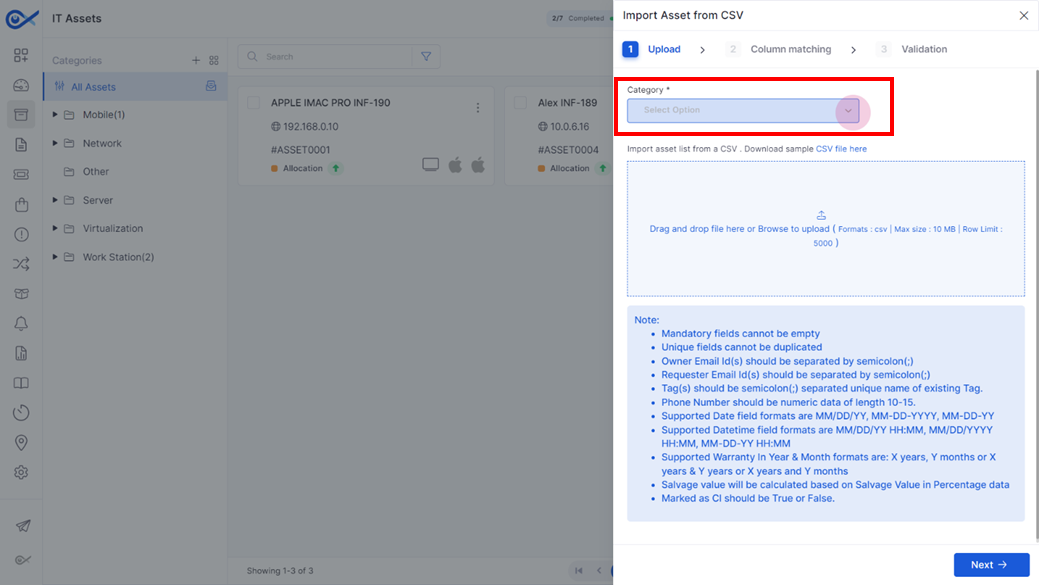
**Step 2:** In the pop-up tab, use the dropdown menu to map the assets to a parent or child category. Select the category in which the assets will be added.
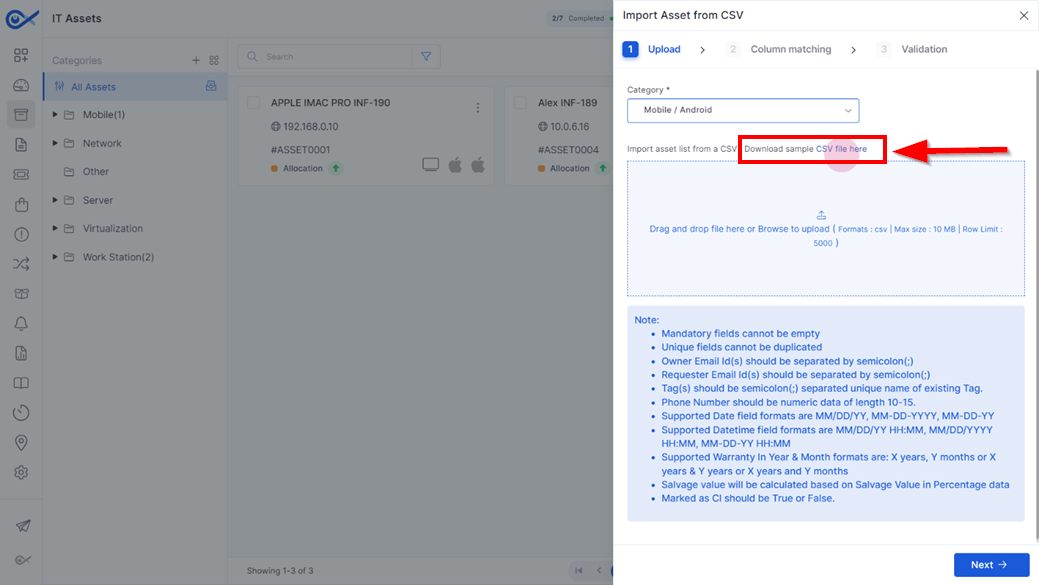
**Step 3:** Download the sample CSV file by clicking on the ‘**CSV file here’**.
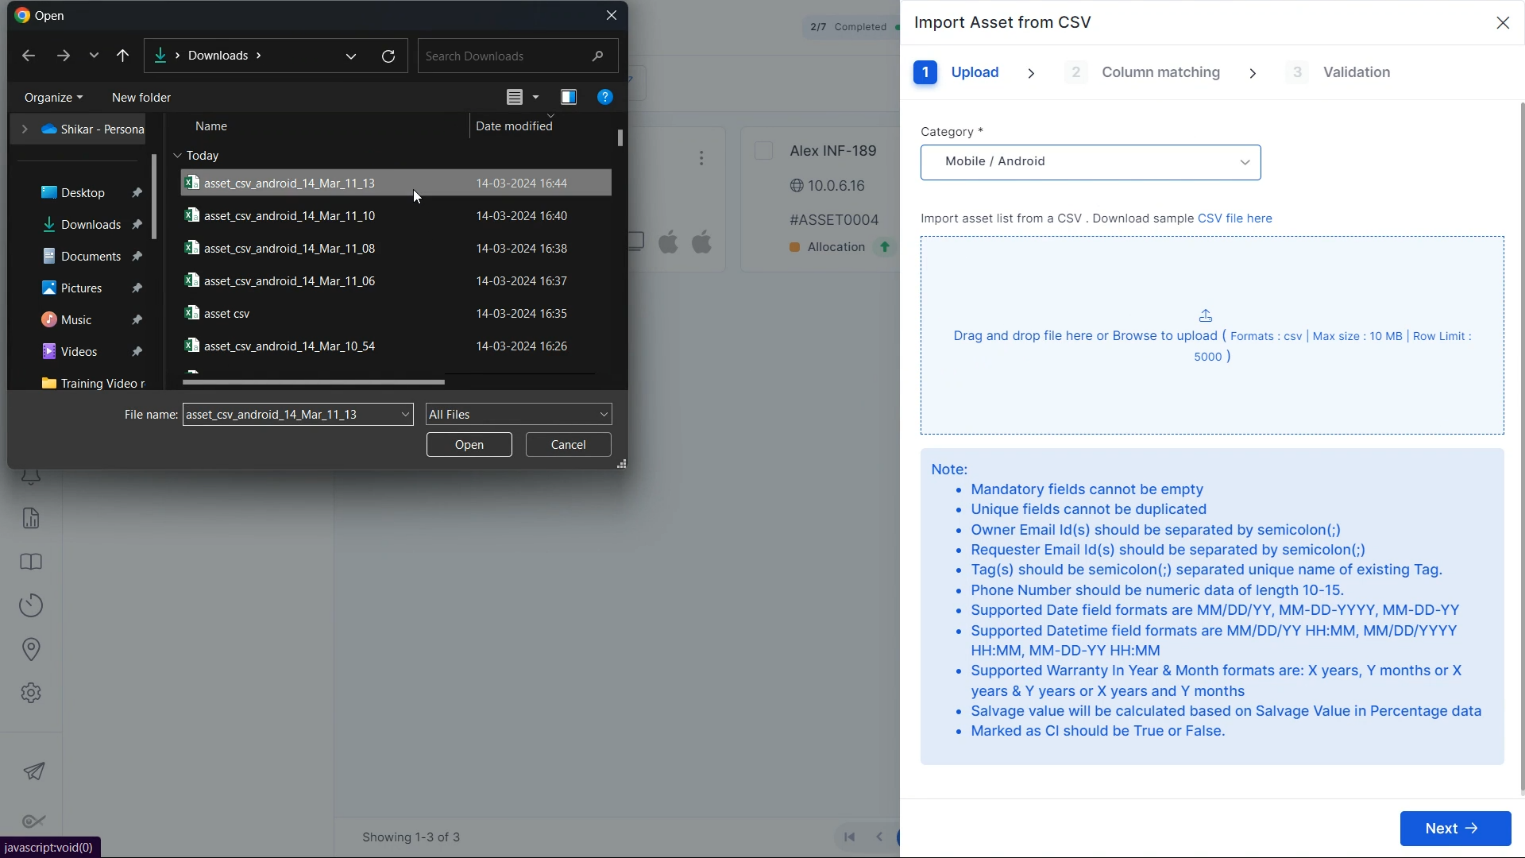
**Step 4:** Open the downloaded CSV file and fill in the required details for the assets in the appropriate columns.

**STEP 5:** After filling in the details, save the CSV file and upload it.
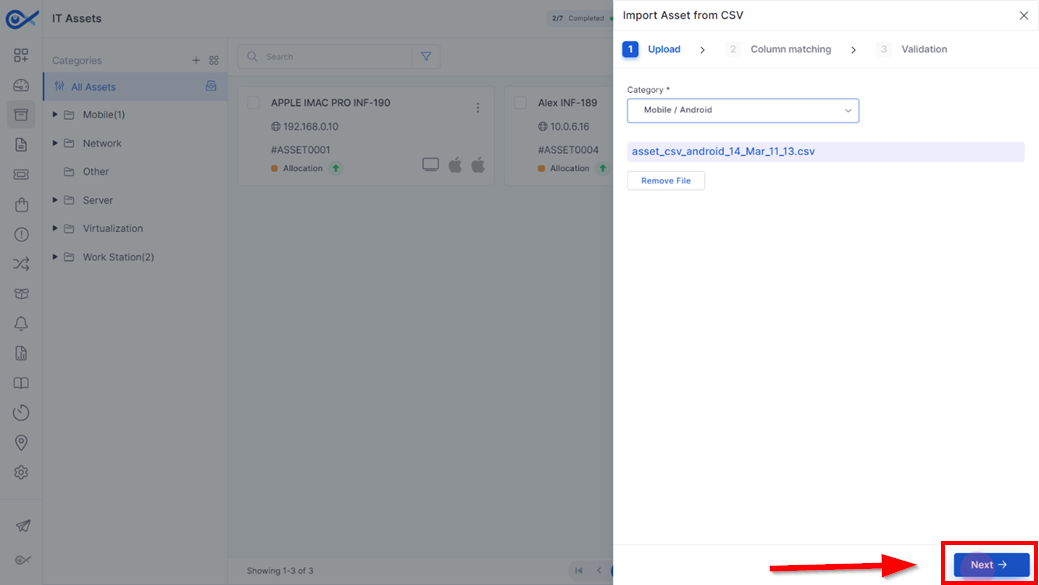
**Step 6:** After a successful upload, click **Next**.
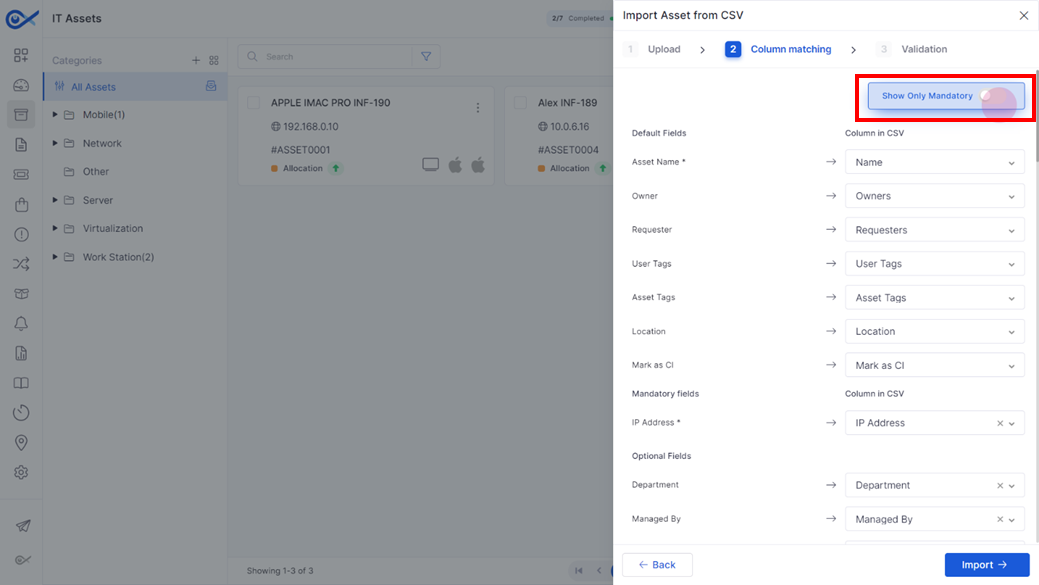
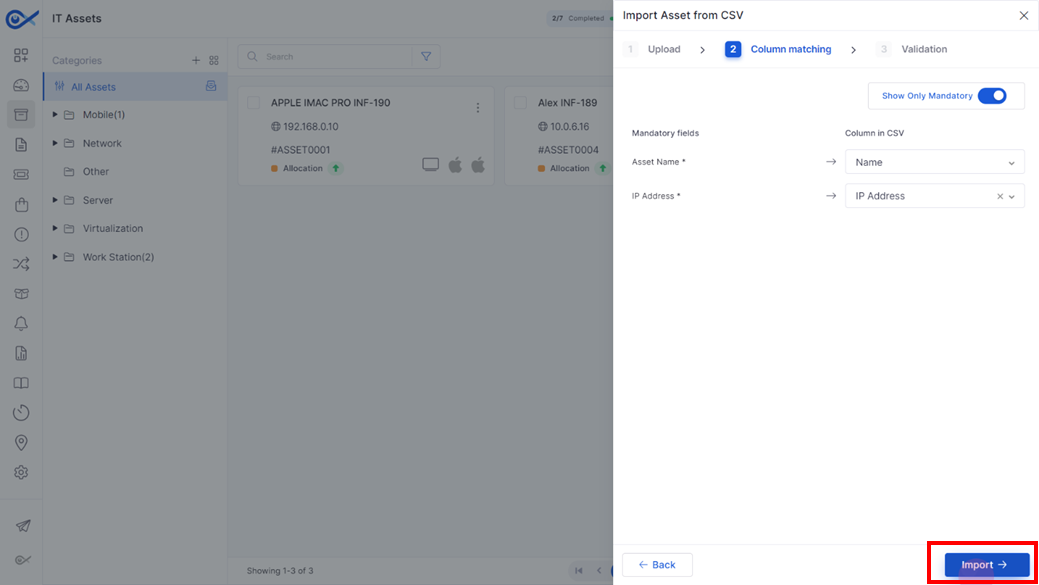
**Step 7:** On the column matching page, make sure the columns match the data in the CSV file. Use the ‘Show Only Mandatory’ toggle to view only mandatory fields.
**Step 8:** Click **Import** to start importing the CSV file.
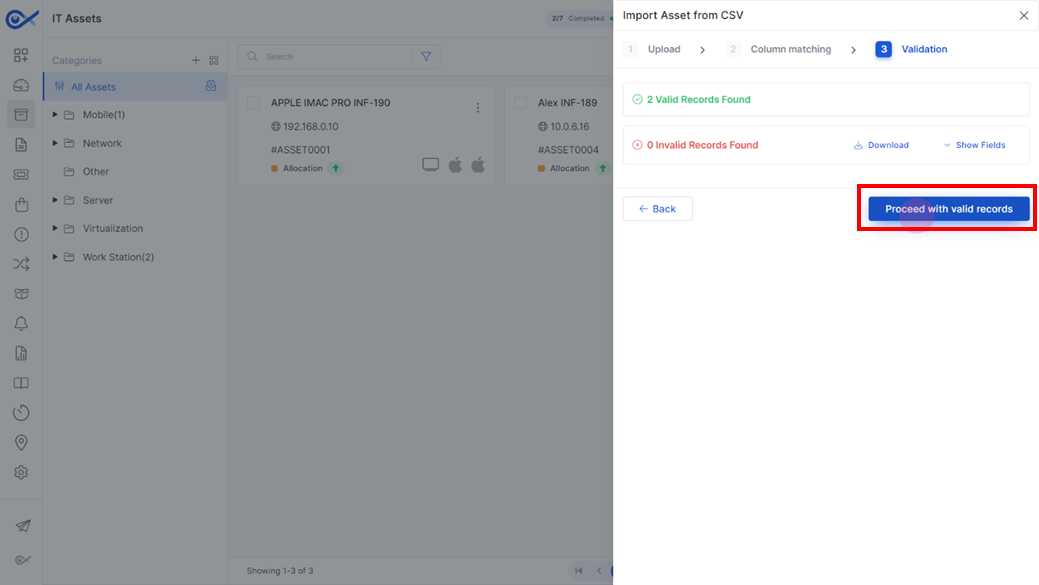
**Step 9:** Once the import is successful, select **Proceed with Valid Records** to add the assets.
**Step 10:** A popup will appear confirming the successful upload of the CSV file and the addition of the assets to the selected category.